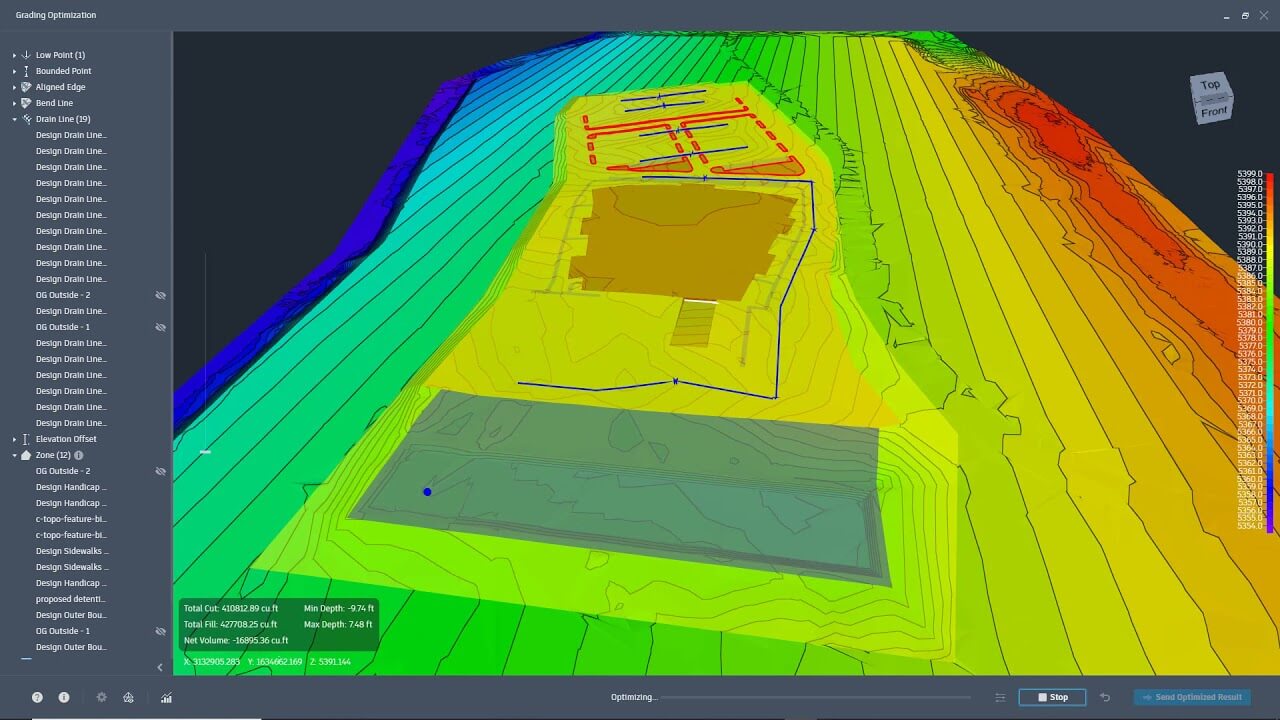
Grading Optimization for Civil 3D Webinar Recap
How to Optimize Your Grading Processes with Civil 3D
If you are a civil engineer or a land developer, you know how important it is to create accurate and efficient grading designs for your projects. Grading is the process of shaping the terrain to meet specific design criteria, such as drainage, aesthetics, and stability. However, grading can also be challenging and time-consuming, especially when dealing with complex or irregular sites.
That’s why we were excited to host the webinar on Grading Optimization for Civil 3D, hosted by Elizabeth Valerio, a certified Autodesk instructor and a Civil 3D expert. In this webinar, Elizabeth shared some advanced techniques and tips to streamline your grading processes and enhance your project efficiency using Civil 3D, the industry-leading software for civil engineering design and documentation.
Here are some of the key takeaways from the webinar:
- Use feature lines and grading objects to create dynamic grading models. Feature lines are 3D polylines that can be used to define the shape and elevation of the terrain. Grading objects are surfaces that are created by applying grading criteria to feature lines, such as slope, elevation, and distance. By using feature lines and grading objects, you can create grading models that automatically update when you modify the feature lines, saving you time and effort.
- Use grading groups and volumes dashboard to manage and analyze your grading models. Grading groups are collections of grading objects that share a common surface. You can use grading groups to organize your grading models into logical units, such as roads, parking lots, or building pads. You can also use the volumes dashboard to calculate and compare the cut and fill volumes of your grading groups, helping you optimize your earthwork and material costs.
- Use grading tools and best practices to handle complex grading scenarios. Civil 3D offers a variety of grading tools and options to help you deal with complex grading scenarios, such as grading to a feature line, grading between two surfaces, grading with daylighting and transitions, and grading with conditional cut/fill factors. Elizabeth demonstrated how to use these tools and options effectively, and also shared some best practices and recommendations for grading design, such as using grading styles, layers, and labels, and avoiding grading errors and conflicts.
We hope you enjoyed this webinar recap and learned something new and useful for your grading projects. If you missed the webinar or want to watch it again, you can find the recording here. You can also check out the CAD Masters website for more upcoming webinars, training courses, and resources on Civil 3D and other Autodesk products. Thank you for reading and happy grading!


