Autodesk Vault and Civil 3D – Part 3
In part 2, we looked at installing Vault Collaboration for Civil 3D and how to create a Vault project. In this post, we will start designing in Civil 3D put drawings and data into Vault.
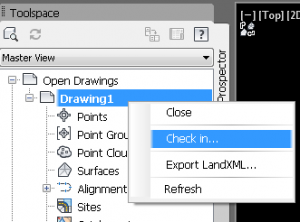
The first step to create a new Civil 3D drawing with Vault is to use a template as you normally would. Once this file is created, it needs to be saved. If you try to check in a drawing without saving it will prompt you to save the drawing. If you click OK to continue and save the drawing, Civil 3D will prompt you for a location to save the file.
What should you set as your Working Folder path? By default, the working folder is C:\Civil 3D Projects. You could also choose a network folder such as \\WC-SVR\Projects. There’s no right or wrong answer for this path and a lot of factors that go into the decision.
- Will having the read-only network path files be a key benefit to your organization?
- What extent of non-drawing files are going to reside in Vault?
- Will there be non-vaulted data such as images that are referenced by the drawings? If using local paths, is it okay to have absolute paths to these files?
- Will Vault be used in a WAN environment? Are you going to set-up different Working folders for different offices?
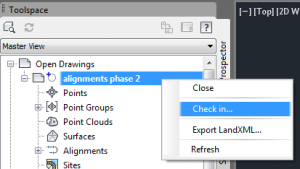
Once you’ve decided on a location for your working folder, then you can add your drawing file to Vault with confidence. After the file is in Vault, after making any changes to the file, such as creating an alignment, you’ll want to Save and Check In the drawing.
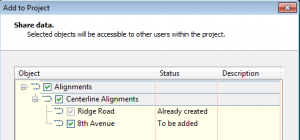
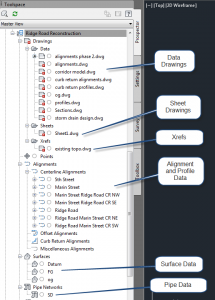
As the project goes on, the number of drawings and data in the Vault will increase. For this project, data, sheet, and xref drawings were separated into corresponding folders that were created in the part 2. You can see the results of adding all the project data in the following image:
Next we’ll look at using Labels to mark milestones for our project.

