Autodesk Vault and Civil 3D – Part 2
Now that the Vault server is up and running, the next step is to install the Autodesk Vault Collaboration client software on the computer with Civil 3D. The software requires a network license to run, so the license server should be updated with a Vault Collaboration license (85750VLTC_2012_0F). Next, when installing the Vault client software, it recognizes that Civil 3D 2012 is installed and adds the required Vault integration files, including the vaac.cuix file automatically.
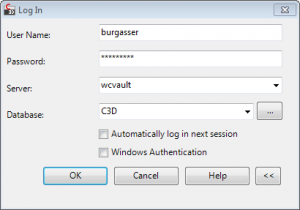
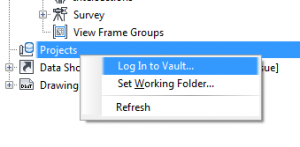
After installation of the Vault Collaboration client software, after launching Civil 3D there is an option to login to Vault. In Civil 3D, in Toolspace, on the Prospector Tab, right-click Projects, and click Log In to Vault.
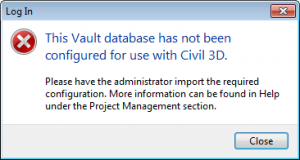
You may receive the following error message: “This Vault database has not been configured for use with Civil 3D.”
This means that we have more left to do to configure the Vault server. Go back to the Data Management Server Console on the Vault server, right-click your Vault (which I named C3D), and click Import Configuration. Then import the appropriate CFG file.
Now, you should be able to log in to Vault from Civil 3D!
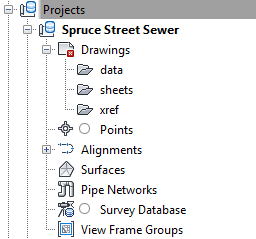
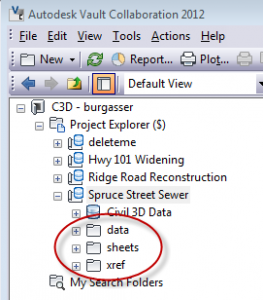
For this example, I’ll create a new project called Spruce Street Sewer. The framework for the project is created as shown in the Prospector tab in Civil 3D:

Now that the project is setup, we can start designing, modeling, sharing, and making money. We’ll talk about that in the next post.

