Revit Space Naming Utility: Families & Rooms
Revit Space Naming Utility & Revit Links: Associate Revit Families to Rooms
This article describes how to use the Revit Space Naming Utility (SNU) to create Spaces that a Revit Family can look up parameters from. A great simple example Family that benefits from this process is a Room Number Sign (or Room Placards).
Tell me if this maddening scenario sounds familiar:
After inserting a Family into a Revit project, you decide you need the Family to detect which Room it is in. Then after creating a Revit Link to do so, you find it’s actually impossible to do so through a Link. You momentarily grumble about why such a simple function does not exist in Revit while trying to figure out a workaround. Finally you resort to either copying the Rooms in from the Linked drawing, or creating non-smart parameters in your Family to manually enter the Room numbers. Even with these workarounds, neither option will dynamically change the Family instances with the linked file.
Whew, done! Right? Wrong.
Often you need for the Family instances to be dynamic with the Rooms. Say you are working on an office building floor plan and you often need to change the names and numbers of Rooms or combine and subdivide Rooms. Are you supposed to go through all your Families now and manually reenter the data for each of your billions of instances of Families?
Well luckily there is an automated way to do this, it’s just not immediately apparent. We’re going to base our method on the fact that most Families have a Room calculation point. That is, if a Family is inserted in a Room or Space, that Family is associated with the Room or Space.
(Click on the image below to view larger)
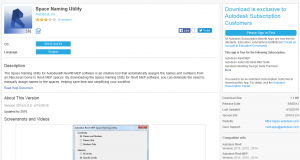
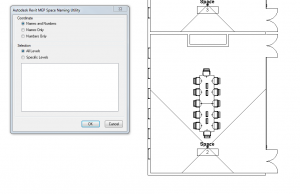
So how do we gain access to the Room data in a Link? Well, the short answer is…we can’t. But what we can do is use a nifty Add-On provided by Autodesk called the Space Naming Utility (SNU). This tool allows us to name and number Spaces with the exact same name and number of the Rooms they occupy; even if the Rooms exist in a Link.
So we have two options now. If the Spaces are to occupy the same area as the Rooms, then we need to read through the Type properties of our Revit Link and confirm the Room Bounding checkbox is checked. This will make any Walls or Room Separators in the linked project Bound Spaces or Rooms added into our project. Now just put Spaces that occupy the same areas as the rooms in the linked file. With the SNU we can name our Spaces to match the Rooms in the Revit model. (Click on the image below to view larger)
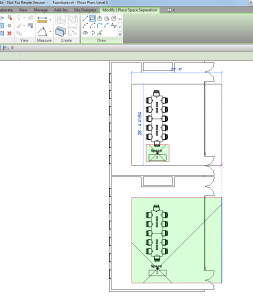
What if the Family instances are outside of the Rooms? In this case, you don’t need to have Room Bounding check marked. Using the Space Separators in the Space and Zone panel, draw your own boundaries for your Spaces. Be sure to include the Families you want associated with the Rooms as well as a portion of the Rooms themselves. As long as the crosshair marker of the Space is placed within the portion of the boundary that covers the room (no matter how small), the SNU will associate that Space with the Room. Use the SNU to match Space to the Room and bim-bam-boom problem solved!
(Click on the image below to view larger)
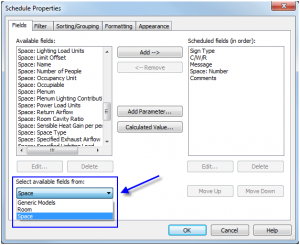
Additionally, any Schedule would now be able to add Room and Space parameters even if the category of the Schedule is not a Room or Space. Just choose “Space” from the “Select available fields from”…and add away!


